A few weeks ago I was contacted by the distributors of iDraw Generative Machines with a proposition: I could receive an iDraw plotter in exchange an honest review.
Those of you who have read my blog before probably know that I am really interested in the intersections of art and technology. Those of you who have read my blog before probably also noticed that the blog hasn’t been active for a while. This is due to a lot of things — primarily because I’ve shifted my focus away from coding a little bit to enroll in a year long art program.
I’ve improved my artistic skills tremendously this past year and I’ve continued to code in the capacity of a bootcamp instructor – teaching for Practicum by Yandex, an online program which I’ve really enjoyed working at. However when opportunities like this come along I’m rarely one to turn them down. Especially in this case, because I realized I could do really cool things with my paintings if I had a pen plotter that could draw things like fractals which would be really time consuming for me to draw myself. Not to mention it can also cut vinyl. The possibilities!

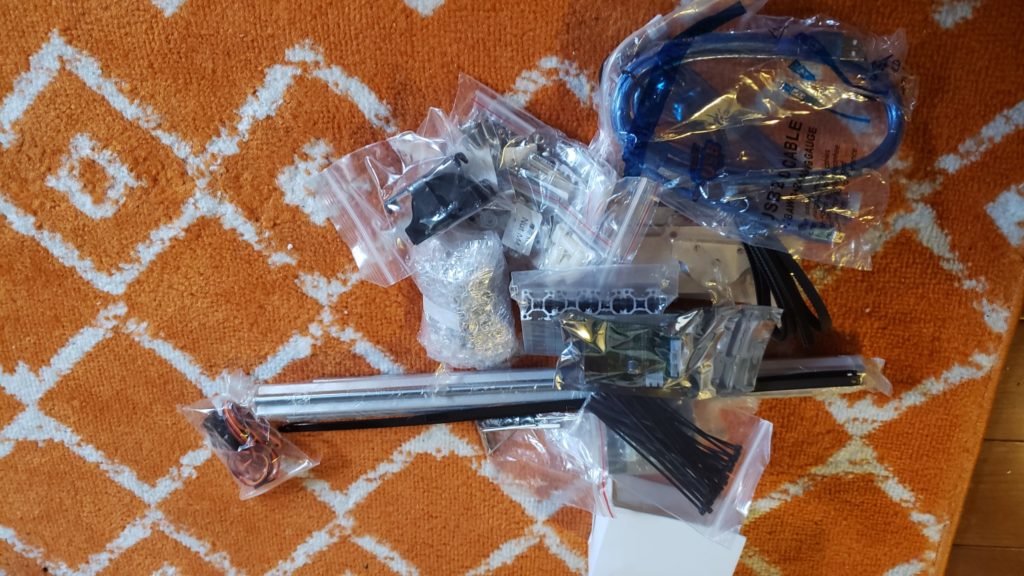
What I didn’t realize when I agreed to review the iDraw while getting excited imagining all the things I could do was that the machine is very much a DIY contraption. Meaning, it arrives in a million different pieces and requires a great deal of time and attention to detail in order to put together. Granted I should have perused the links that were sent to me more carefully but I would be lying if I didn’t say my heart sank a little when I opened the box and saw all the little screws and cables inside. It should have also occurred to me that the price tag was simply too low for them to bring you a fully assembled machine – a quick google search will show you assembled pen plotters can go for $250 or more pretty easily.
That being said, I’ve never shied away from a challenge so after recovering from my initial disappointment, I went to work. And let me tell you friends, it WAS work. Of course if you are an expert at DIY or you have a lot of experience with Raspberry PI and that sort of thing, this might not seem so challenging to you. The extent of my expertise with building and assembling things would be putting together furniture from IKEA. This is a whole other level from IKEA, though. First of all, the pieces are much smaller. Second of all, there are more ways to put things together in the wrong orientation. Third of all, the instructions have parts where you have to refer to videos that are hard to see all the details (like which side of the belt faces which way, for instance).
The video above is a time lapse compressing about 2 hours of work assembling the device into about 5 minutes. There were moments when I became very frustrated and wanted to throw the whole thing out of the window but I am glad I persevered. After 2 hours my phone died and I was too focused on assembly to record the rest.
One thing to note – it took me a little while to find the assembly guide for the version I had but once I did things went along much faster. A review of the iDraw wouldn’t be complete without covering the parts I struggled with the most:
- Attaching the covers to the back of the two ends where the motors are situated. I would tighten the screws on the opposite side of the t-nuts but the t-nuts would not revolve and so would not lock into the opposite side like they were supposed to (page 28 of the assembly guide) . I seriously just gave up on this. Maybe I will glue them – we’ll see.
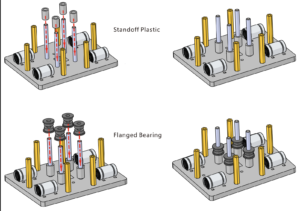
- Attaching the two panels with the linear bearings together. I was holding it upside down while stacking the flanged bearing and standoff plastic and then forgot it wasn’t attached at the bottom so I lifted it momentarily off the table and everything fell apart. Then later on I guess I didn’t tighten the nuts enough because the whole middle piece fell apart while I was attaching the ends and was MUCH harder to put together that time because I didn’t want to take all the other pieces apart again. (page 14 of the assembly guide)
- The belt. Oh my god the belt. I thought I had it right following the video instructions but either something got screwed up after I first ran the machine or I just didn’t quite put it in correctly but this was the most time consuming part by far. You have to tie the belt off at the ends after you wind it through the 4 different sections of the plotter. In my case the ends of the belt kept coming untied and was driving me insane. After hours of fiddling and messing around with the software I finally realized that the belt wasn’t wrapping around the pulley part of the motor but instead had somehow slid up above it. This screwed up the tension in the belt and cause it to slide up in other crucial areas where it needed to be aligned to the pieces which make it turn smoothly.
- The pen was going up when it should go down and down when it should go up. I wish I had googled it sooner because as soon as I did I found someone with the same issue and it turns out that you can actually adjust this in the Inkscape Axidraw extension (Axidraw has an extensive wiki which helped a lot for the software portion). There are basically two bars you can adjust, one which is labelled “DOWN” and one “UP.” What is a lot less obvious is you can actually adjust the bars to make “UP” be down and “DOWN” be up. Very confusing, but it worked for my purposes

Okay, so I’ve gone through the whole assembly process and probably made it pretty clear its not the easiest thing in the world. But more important than the challenges of assembly is the result, right? Was it worth all my pain and effort? So far I would say yes. It’s an incredibly cool machine, and for the purposes of my art the sky is the limit for what I can create. As an artist I love to paint free, loose, and a little messy. But having this tool will make it so I can incorporate little details and elements in my work that I couldn’t otherwise. It’s also just really fun to watch it go. Honestly its more entertaining than a lot of reality shows that are out there.
Now that the assembly is behind me I’m feeling very excited again – I have lots of ideas for things I can make and sell. Thinking about opening a new etsy shop and creating some more video content of the machine at work.
If the thought of assembling this plotter sounds intimidating and you’re not sure you’re up for it, there are some plotters which come partially assembled and are for sure easier to work with.
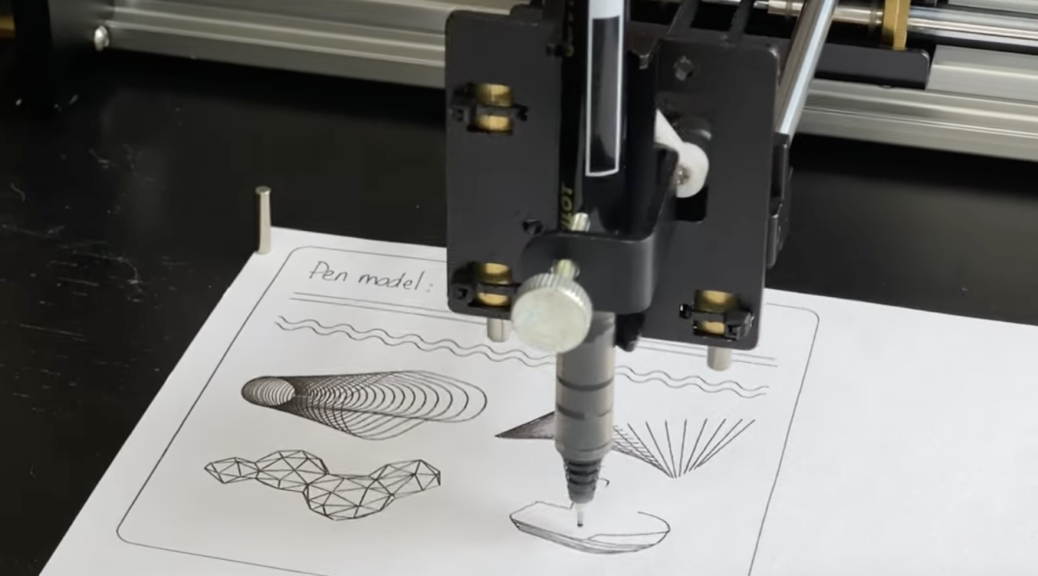
Here is a video of my first time running a more complex drawing on the machine. Note that I had to pause it part way because I realized that my pen wasn’t depositing enough ink so I had to switch pens and shifted the drawing slightly in the process.
Of course I’m planning on using much more than a pen when I work on my future projects. I’d like to experiment with markers, paintbrushes, and of course a laser once I figure out where to get one. It would be cool to do wood burning with a laser but I’m not sure a compatible one is powerful enough. I will update this iDraw review with more info as I figure it out. Of course there are also a lot of options with vinyl cutting. I’m impressed with how it can draw such thin and precise lines.
If you enjoyed this article, consider following me on Twitter @nadyaprimak or if you need more tips on breaking into the tech industry, you can read my book “Foot in the Door”.
